M12 Lenses for a Raspberry Pi High Quality Video Conferencing Camera
A few early users of our lenses are actively involved in the RPi community and mentioned the products in a thread. And many people were curious "well what lens should I use?"
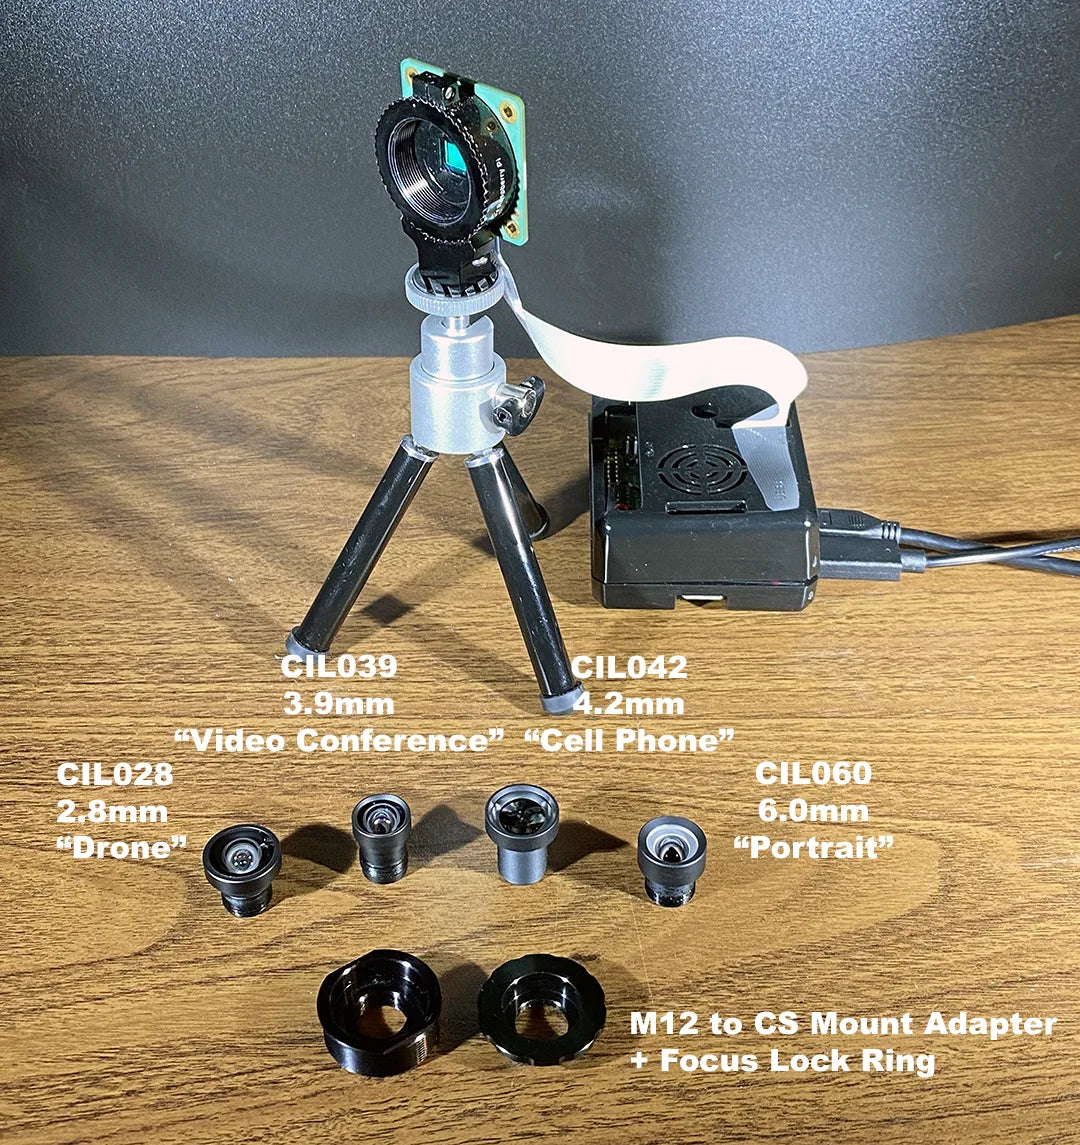
The Raspberry Pi HQ is a CS-mount camera and ships with a C-mount adapter, so it takes both C-Mount lenses and CS-Mount lenses. You can also run M12 lenses on it with an M12-to-CS adapter. The current shortlist for that build is the Raspberry Pi M12 lens collection. Since January 2023 Raspberry Pi has also sold a native M12-mount version of the HQ Camera, which takes these lenses without an adapter. This 2020 build predates it.
This post should address these questions! This is a DIY hacky post I made during WFH in Covid. My professional optical engineering and camera design efforts are more comprehensive.
About Me (Max): At the time of writing (2020) I was a freelance optical engineering and camera design consultant, now the owner of Commonlands. I've been project based with a few Series A to Series D companies on their camera HW. I worked for a major US/Chinese lens manufacturer for 5 years. If you drive a US or European vehicle, you're likely driving around with several camera lenses from the company.
There are five sections to this post. Click below to skip forward to what you're interested in:
The Preface about 4K+ Video Conferencing Cameras
Video conferencing applications vary widely. There are end-of-room huddle screens, lecture-style meeting rooms, executive board rooms, and personal desktops. Each situation has different field of view (FoV) requirements, resolution, and price point. Now that Zoom, etc. have been widely adopted, we'll see how things shape up.
Here's some free market research on the 4K+ compatible video conferencing products on the market - up to date as of Nov 2020. This should give you a sense of the FoV which the PMs at large companies select.
The closest models to a consumer webcam were chosen for the below report.
| Company Name | Product | Use-case | Price | HFoV | Advertised Resolution* |
|---|---|---|---|---|---|
| Cisco | Webex Desk and Room | Lecture Room | N/A | N/A | N/A |
| Dolby | Room | Small Office | ~$1k | 95° | 12MP 4K+ |
| Huddly | Go | Home + Small Office | $350 | 120° | 16MP (720p) |
| Jabra | Panacast | Home + Small Office | $695 | 180° | 3*13MP |
| Katai | BlueJay | Home + Small Office | $X** | 360° | 20MP |
| LifeSize | Icon 300 | Small Office | $1.5k | 113° | 12MP (4K) |
| Logitech | Brio Ultra | Home | $199 | 82° | 12MP 4K+ |
| Owl Labs | Meeting Pro | Home + Small Office | $999 | 360° | 12MP (720p) |
| Polycom | EagleEyeCube | Small Office | $750+ | 110° | 12MP 4K+ |
* These are vendor-advertised figures, not measurements, and not one common metric. The headline number is the sensor count the vendor quotes. A figure in parentheses is the stream resolution it publishes where de-warping downsamples the output. Cameras that build a panorama from more than one sensor, like the Panacast's 3x13MP, do not compare to single-sensor counts. No angular-resolution or parallax correction has been applied, so read the column as a snapshot of what product managers were specifying in 2020, not as a ranking.
The Raspberry Pi HQ Off-The-Shelf 6mm Lens
This output from the Raspberry Pi 6mm CS lens shows visible line curvature in this setup. Check whether that distortion is acceptable for your framing, or calibrate it if the application needs straighter geometry.
Either way, they retail a lens the label itself calls "3MP" as the primary optic for a 12MP "High Quality" camera. An MP label names the sensor class a lens is aimed at. It is not a measured resolution, and you cannot divide one number into the other to predict what the system resolves.
What I can report is my own bench result. On an ISO 12233-style resolution target, this lens and camera put limiting resolution near 720p equivalent at my capture settings. Read that as one bench observation, not a spec: a number you could compare against would name the field points, the aperture, the focus distance, the illuminant, the sensor, and the processing chain behind it. Definitely not High Quality. Read our blog post about resolution for more insight into the types of resolution.
Notice how the ceiling curves?

The Commonlands M12 Lens Options
Our 4K+ lenses for video conferencing with the Raspberry Pi each publish a distortion figure under 2%, a big improvement on the 6mm Raspberry Pi CS mount lens.
Read those figures carefully. TV distortion is the deviation of a straight line near the frame edge, expressed as a fraction of picture height, so it is tied to the aspect ratio it was measured on and does not convert to a radial rectilinear percentage. The CIL028 publishes -1% TV on a 4:3 frame. The other two publish sub-1% figures without naming the metric:
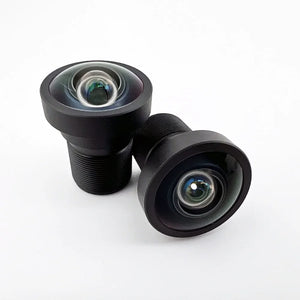
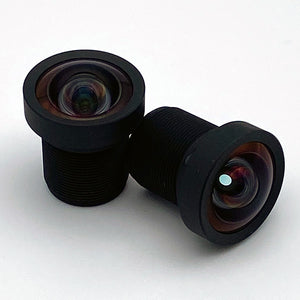
- CIL028: a 2.6mm F/2.3 lens with 96° Horizontal Field of View.
- CIL034: an F/2.7 wide-angle lens with 88° Horizontal Field of View. Not Shown.
- CIL039: a 3.9mm F/2.8 lens with 77° Horizontal Field of View
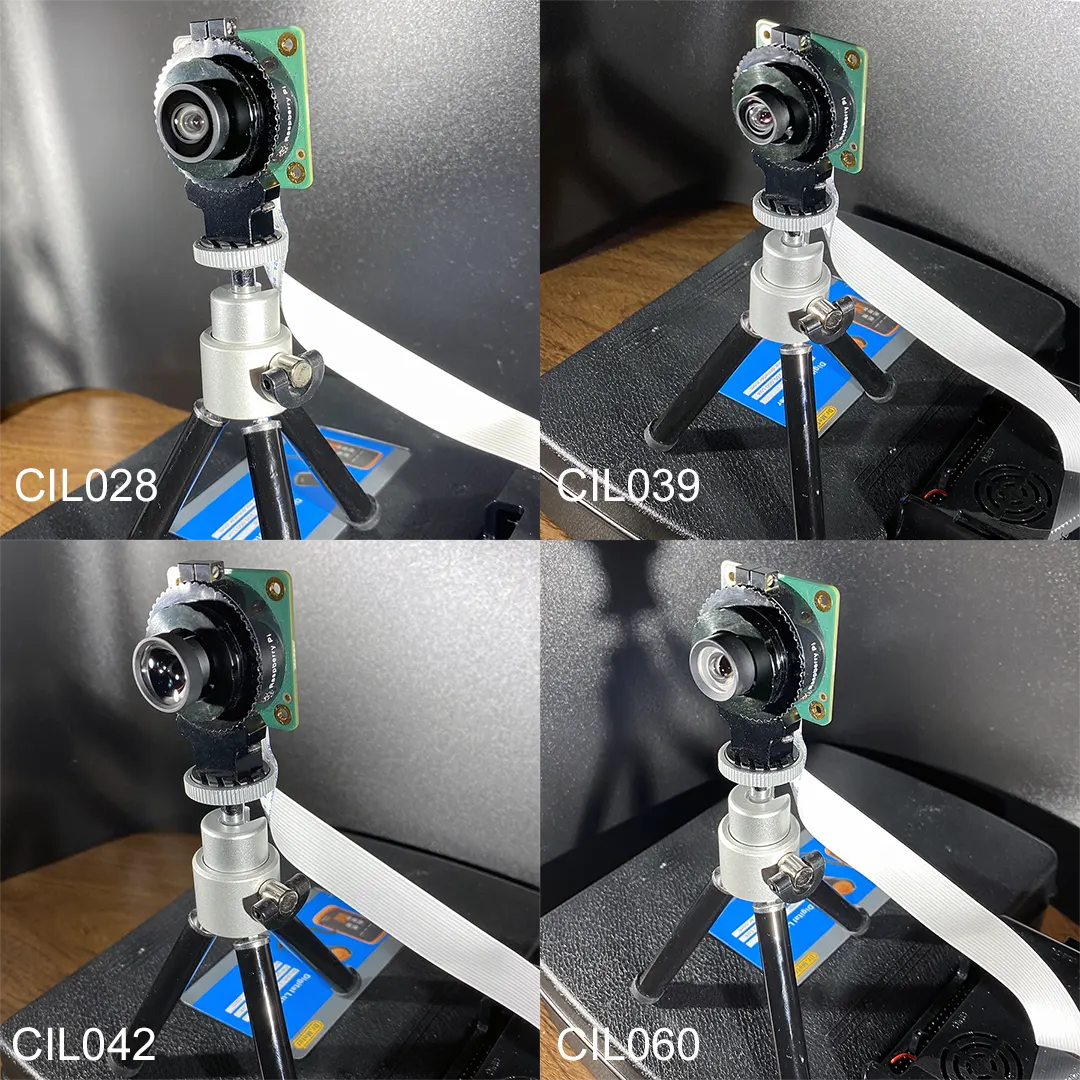
The Field of View Output Comparison
Here is what each of the lenses looks like in a webcam setting. These were taken in the full resolution still image mode with the default settings. To get the perfect image, I'd recommend messing around with the Auto-White Balance and Auto Exposure settings of your camera.

Not worthy of Science Magazine. But it'll cut it for a DIY project. A white wall behind you and ring lighting makes Zoom video quality way better. I skipped these steps so that you can visualize the performance better. The curtains and windows are 10' behind where I'm sitting.
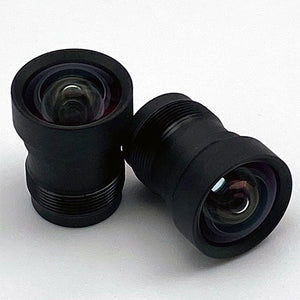
A few M12 lenses worth considering for this build, spanning wider and narrower fields of view:
Related M12 Lenses



The Camera Hardware Walk-Through
Step 1: Figure out where you want to position your video conferencing camera.
Positioning is key to field of view selection. A laptop camera 1' from where you are sitting requires a completely different lens than if you are sitting 3' away from your battle-station.
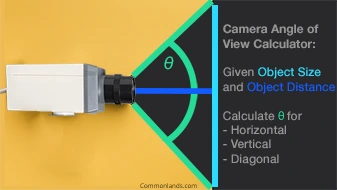
We've provided an Angle of View calculator that is free to use here. You can use this to calculate the AoV/FoV you need from your scene geometry. My personal preference is to have my face occupy about 30%-35% of field of view.

Step 2: Purchase a Lens (or Two) and Accessories.
Here you are. Make the FoV decision.
Scroll back up to the competitive research chart and the comparison images. It may help you decide what field of view you want to target. There are additional output images from each lens on the lens page. You can also check the mechanical profile and detailed specs on the pages.
Regardless of what you choose, an M12 lens on the RPi HQ will probably look something like this. Then you can 3D print or laser cut a housing accordingly.

The Adapter Talk
If you're using an M12 lens, make sure to get an M12-to-CS adapter. We don't care where, but it's needed.
It's also great to get something that lets you lock the focus reliably. That's why our CS to M12 mount adapters come with a focus lock ring. These two pieces enable you to fix the position of an M12 lens within a CS or C mount, without any Teflon tape or adhesive.
I know the cheap adapters on Amazon are tempting. Yes, Arducam has been known to put a screen print on these and retail them. Go ahead and try them if you want.
Personally, I've bought from several different vendors on Amazon, including 30+ from a vendor who has now delisted because of quality problems and cost over-runs. Every unit went in the trash because the 1"-32TPI thread spec didn't pass a Go-NoGo gauge - the thread pitch was incorrect. When Amazon receives this many complaints from customers, you know it's a problem. The adapters barely made a single full rotation into the Raspberry Pi HQ mount...

Related M12 Lenses
A Side-Bar about M12 Lenses Versus C and CS Mount Lenses
Many people think that "More Glass is Better Glass." The honest answer is that neither direction holds. Element count and mount size do not predict image quality. The optical prescription does, along with the format it has to cover, the conjugates it works at, the aperture, the manufacturing tolerances, the coatings, and how well the thing is assembled and aligned. A four-element M12 lens built to tight tolerances can outresolve a ten-element lens built loosely.
The C, CS, EF, F, and PL mounts were developed for film and television cameras, several of them decades before CCD sensors existed. The long flange distance they fix in place constrains a designer's options, which is a tradeoff to work around rather than a guaranteed MTF penalty. We're well into the 2000's now and CMOS technology has advanced rapidly.
Interchangeable C and CS mounts cover 1"+ sensors, and they are not limited to coarse pixels: Sony announced the 20MP 1" IMX183 in 2014 with a 2.4 micron pitch, and C-mount lenses are sold to resolve it. C and CS are still the standard mounts for 1" and 1.1" machine vision and surveillance cameras, where swapping a lens in the field is worth more than the millimeters a shorter flange would save.
The iPhone 12 makes the point from the other side. A small stack of molded elements, held to tolerances that phone volumes can pay for, holds up against much larger optics from a generation earlier. Size is not the variable. A Sony Alpha full-frame mirrorless camera can outresolve a comparable Canon full-frame DSLR on many measurements, helped by a shorter flange distance that gives lens designers more freedom, though mirrorless mounts still impose flange-distance, clearance, and chief-ray constraints of their own.
Step 3: Create a Focus Chart
A printed target gives you repeatable fine detail for manual focus adjustment. It is useful when you change lenses or working distance. It does not provide the multi-axis adjustment or measured alignment control of an active-alignment station.
Get a cardboard box that's pretty flat. Breaking down an old Amazon box works.
Download and print a Siemens star chart. I'd go with a sinusoidal one, printed professionally. Call it what it is: a star-chart target in the ISO 12233 family. Printing a chart is not running the standard, which specifies the target, the geometry, the capture conditions, and the analysis before a number counts as an SFR measurement. For setting focus by eye, none of that matters.

Once you've printed out the chart, you can cut the box to size. I find that leaving one of the flaps open is a convenient way to create a triangular base.
Tape down the chart in the corners and centers. Fold the bottom flap into a triangle (if you left it) and tape to the back side of the box.
The target now gives you fine detail at the center and across the field to compare as you adjust focus.
Set up your camera in the location you want to use it for video conferencing. I'd keep this as 'in-situ' as possible - make the focus set up representative of your real use case set up.
Now, put your single target in the location of where your head will be located. You may need to set up boxes or tripods to get the Focus Chart into the correct position. You'll want the Focus Chart to be normal to the camera.
Illumination is important and an easy way to improve the appearance of your video. Light rings are the cheapest and easiest thing for video conferencing. Pick one up on Amazon as the cheap ones are <$10.

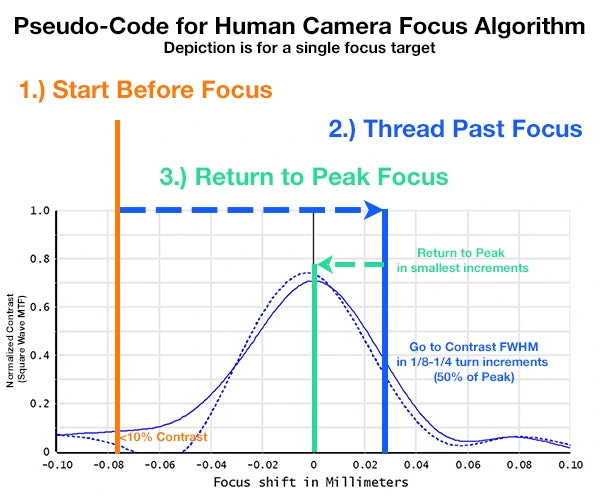
This is a cheap, fast, and effective way to optimize the image quality across your face in the video. This single point focus method is not what I would recommend in a manufacturing environment.
If you are selling cameras to others or using them in a commercial project, I'd go with a field weighted approach. You can read our How to Focus a Camera post for more details. If you have questions about camera module assembly in production, please reach out.
Step 5: Get the SW/FW running and start conferencing!
If you've kept your Raspberry Pi HQ intact with its absorptive blue glass IR cut off filter, then you're all ready to go. You can tweak various settings to improve the image quality.
If you've modified the Raspberry Pi HQ (removed the IR cut off filter), or you're running one of the third-party NoIR-style HQ boards, there will be image quality settings which need to be tweaked. In a professional scenario, this is called Image Quality Tuning and includes tuning the 3As (Auto-White Balance, Auto-Exposure, Auto-Focus). For this fixed focus project, it would only be 2As.
At this point, I'll hand the project back on over to you. If you need another walkthrough with FW/SW guidance, check out the ShowMeWebcam (Hackaday) Project. Feel free to contact me at (mhenkart@commonlands.com) if you have any feedback or questions.
What you end up with
You can make a pretty good 4K webcam using the Raspberry Pi High Quality camera if you use a high quality M12 lens like our 4K+ models. Compare it with a named webcam under matched lighting, exposure, framing, and processing. Higher nominal pixel count alone does not establish better conferencing performance.
You can also pick the field of view that suits your setup by choosing focal length. Nominal EFL alone will not hand you the exact angle: what you get depends on your sensor's active dimensions, the focus distance, where the pupils sit, and the lens's projection and distortion. Size it on the calculator against your own sensor, then confirm it on the bench.
Related M12 Lenses
Use our Camera Calculators


Trying to Determine Your Camera Requirements?
Use our free web-based AoV Calculator to determine your system's Field of View Requirements. Then, use the M12 Lens calculator to match your requirements with the available lenses. Our Depth of Field Calculator also provides the hyperfocal distance and depth of field for every sensor and lens combination.


We also have a couple of other calculators that many engineers find interesting.


-
 Engineering & Quality Assured
-
 US Engineering Support
-
 Easy Global Shipment
-
 Volume Production Ready
What's Your Application? Our Lenses Cover the Spectrum.
Mobile Robotics?
Find a low F# or low distortion lens to optimize your computer vision.
Factory Machine Vision?
Our cost-effective compact C-Mount lenses are designed for up to 1.1"~1.2" format global shutter sensors.
Intelligent Everywhere?
Our low distortion lenses with multiple F# can be used to optimize your depth of field.
Surveillance?
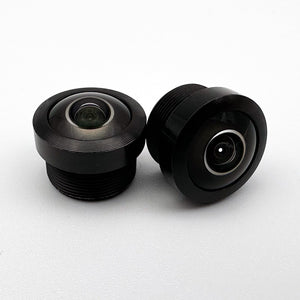
Our fisheye and IR Corrected lenses are suitable for doorbell cameras and active IR illuminated scenes.
Exposed to the Elements?
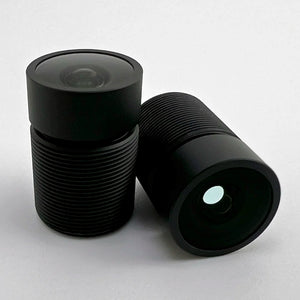
Our IP67 and IP69K (the ISO 20653 code is IP6K9K) lenses are built for exposed applications. Qualify the installed assembly for your environment.


Aerial Robotics?
Our tiny lenses are ideal for collision avoidance and object recognition.