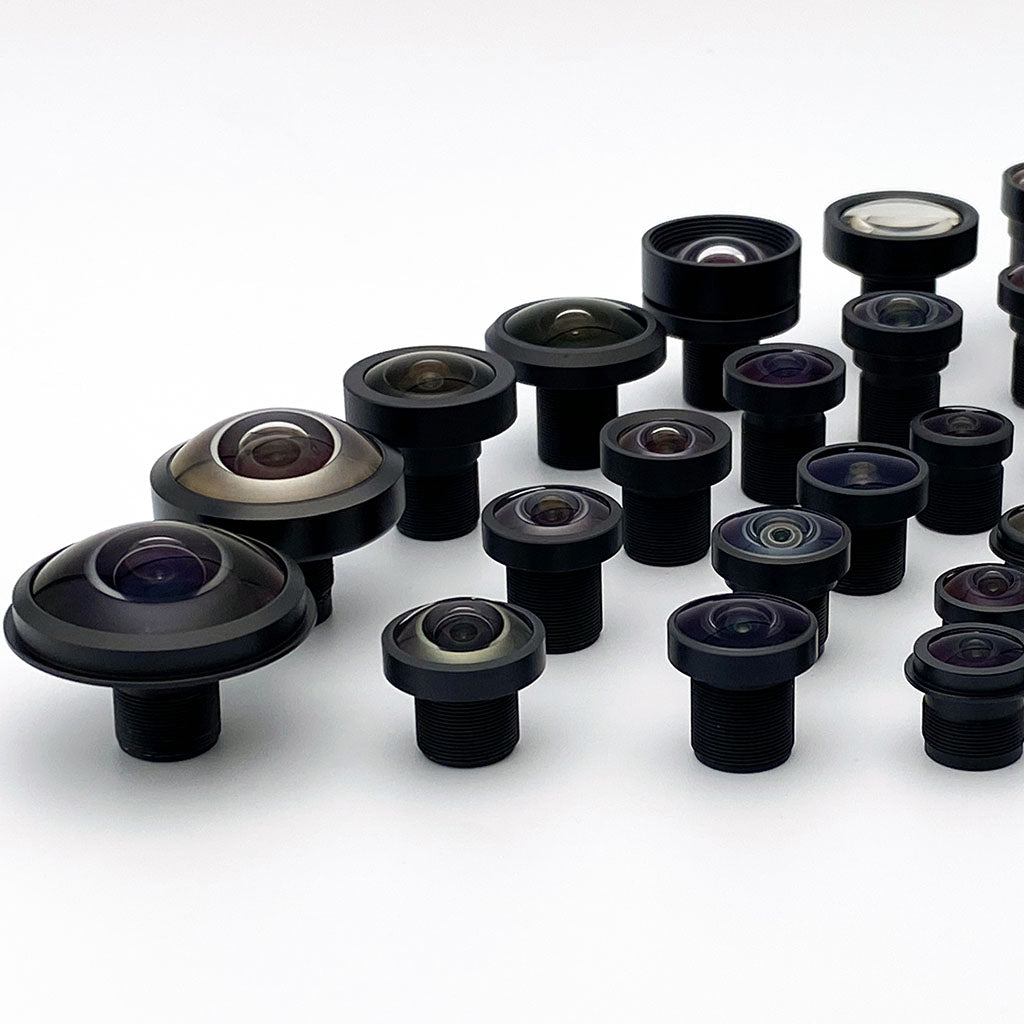


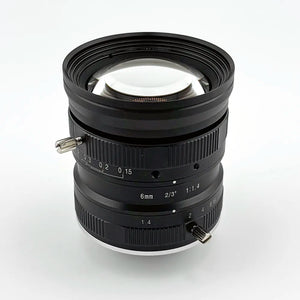
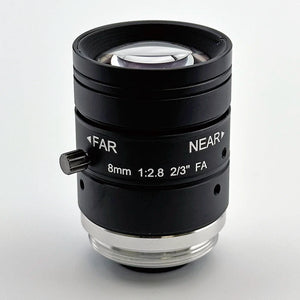
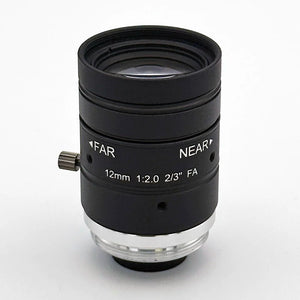

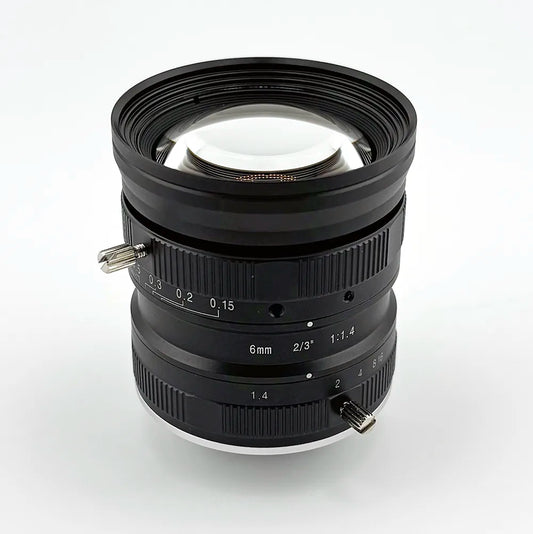
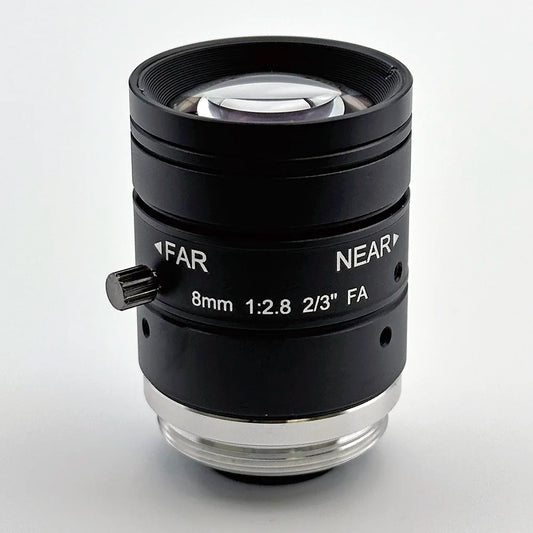
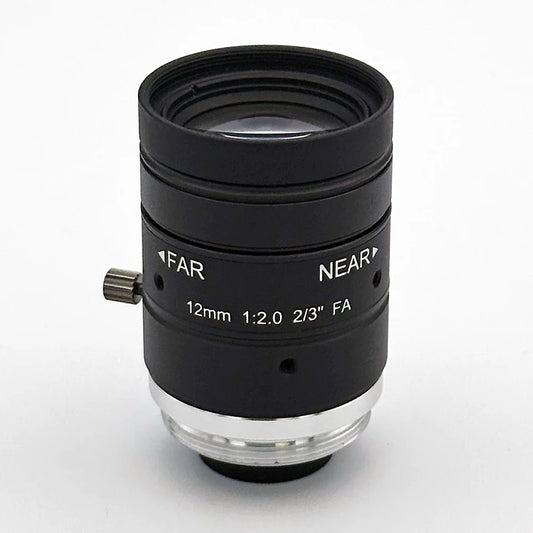
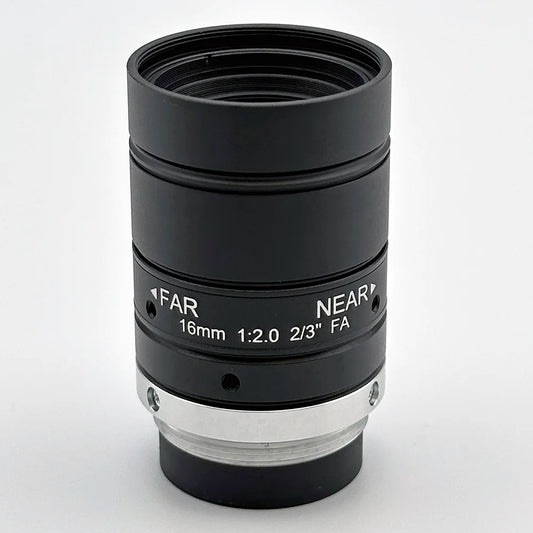

How to specify an inspection lens, in order
Every inspection lens specification starts with the defect, not the focal length and not the sensor. The output of the first step is one number: minimum detectable feature size. A 50 micron scratch on a painted surface and a 500 micron dimensional deviation on a machined part drive completely different specifications downstream. When the defect type is unclear, design to the smallest feature you expect to care about. You can open the aperture or reduce magnification later, but you cannot recover detail that was never captured.
Calculate the required resolution
Once you have a minimum feature size, work one example, not a fixed pixel rule. Say the station inspects a 100mm part for defects down to 50 micron, the defects are high-contrast against a uniform background, and the detector is a thresholding algorithm: budgeting 5 pixels per defect, 5 divided by 0.05mm gives 100 pixels per millimeter, so 10,000 pixels along the critical axis. The pixel count a given station actually needs depends on feature shape and contrast, system MTF, noise, and the detection algorithm, so validate the budget on real defect samples before freezing the sensor choice. Lens resolution must meet or exceed the sensor's pixel pitch. A 12MP sensor at 1.1" has 3.45 micron pixels; a lens rated for 12MP targets that sensor class, but the megapixel label is not proof of resolved pitch, so confirm against the lens's measured MTF data at your pixel pitch. Pairing a lower-rated lens with a higher-resolution sensor means the optical blur, not the sensor, sets your effective resolution.
Set the working distance, then compute focal length
Working distance is set early by conveyor height, robot reach, enclosure dimensions, and part-loading clearance, not a free variable to pick after browsing a catalog. Once you have working distance and required field of view, focal length follows from the far-conjugate approximation, exact only in a pinhole ray model:
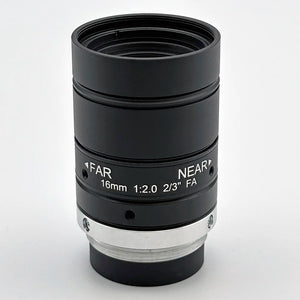
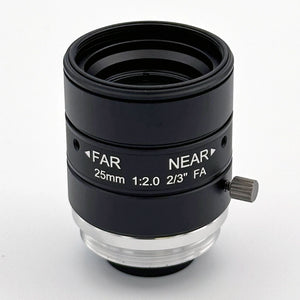
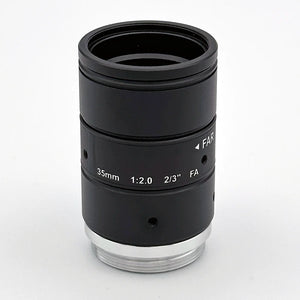
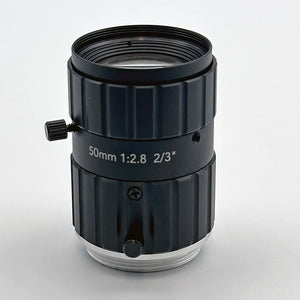
At a 300mm working distance, a required 100mm field of view, and a 14.1mm sensor width (1.1" sensor): the approximation gives EFL = 300 × 14.1 / 100 = 42.3mm, while exact thin-lens conjugates, with the working distance measured from the object-side principal plane, give roughly 37mm, so bracket both against stock focal lengths. On an adjustable C-mount lens, a ring sets focus; which internal elements that ring drives and how sharpness degrades at the near stop vary by design, so pull both from the datasheet or ask Commonlands engineering. M12 lenses focus by threading the entire barrel in and out of the holder. Treat working-distance tolerance and refocus behavior as properties of the specific lens and holder, not of the mount name. Verify your own numbers with the field of view calculator or the EFL calculator before ordering.
Choose the right aperture
For flat parts at a fixed working distance, open the aperture for maximum light throughput and resolution, typically F/2.8 to F/5.6 on C-mount industrial lenses, MTF permitting. For parts with height variation, stop down using the depth of field calculator. M12 lenses typically ship with a fixed aperture, which removes this lever entirely.
Two diffraction limits get quoted, and they mean different things. The tighter one is a detection threshold: at 550nm the Airy disk reaches two pixels wide near F# = 1.5 times the pixel pitch in microns, F/5.1 at 3.45 microns, F/4.1 at 2.74. Beyond it the lens under-resolves the sensor's own sampling grid. The looser one is the depth-of-field crossover near F# = 2 times the pitch, F/7 and F/5.5 for those same pixels, where added depth stops paying for the softening. Both move with wavelength and blur tolerance.
Distortion matters for measurement more than pass/fail
Distortion displacement is radial: it scales with a point's distance from the field center, not with total field width. At 0.5% distortion on a 100mm field, a point at the field edge can be displaced by roughly 0.25mm from its true position: noise against a plus or minus 1mm tolerance, a dominant error source against plus or minus 0.1mm. Print registration is the tightest case; seal-width and label-code geometry sit in the middle, where a sub-0.5% spec is usually sufficient; fill-level threshold checks are the most forgiving because the reference mark and meniscus sit in the same frame and a consistent error affects both similarly, as long as container presentation stays repeatable. For measurement-grade work the nominal distortion figure is only the starting point: traceable dimensional results also need a calibrated residual, controlled perspective, mechanical stability, and an error budget for edge localization. See the low distortion lens guide for the difference between TV distortion and rectilinear distortion conventions.
Match the sensor format to the lens
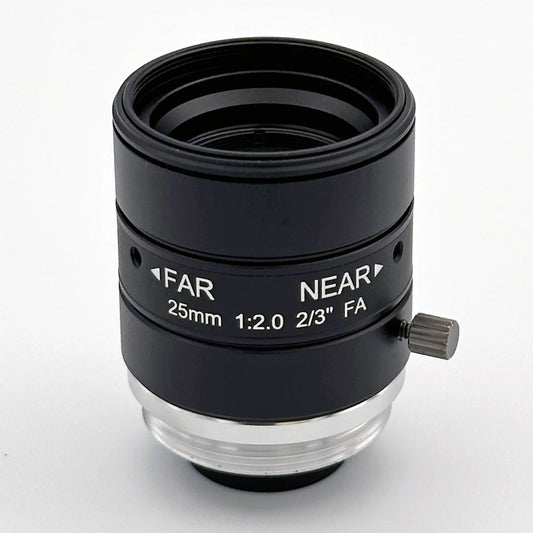
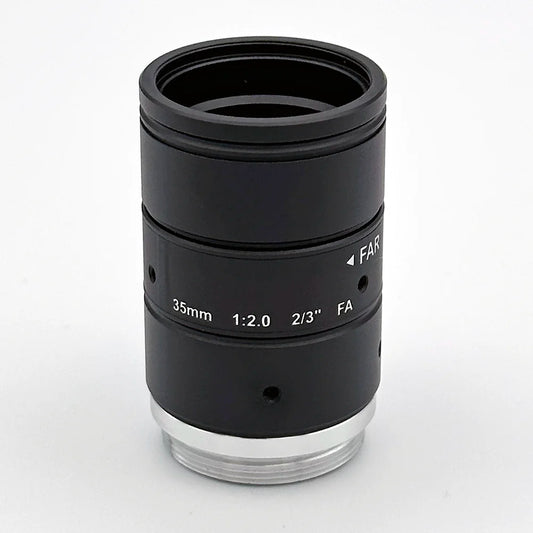
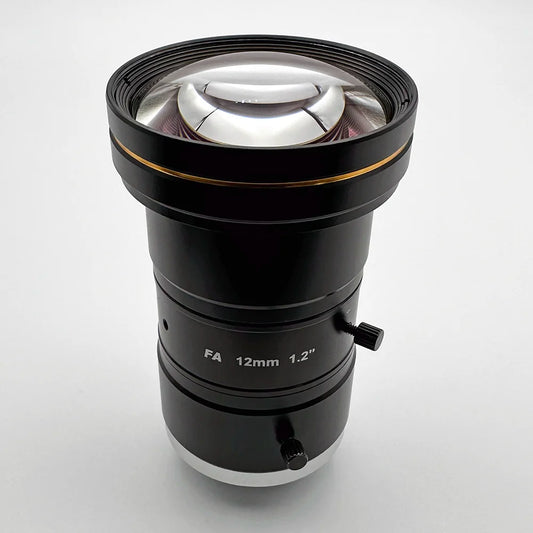
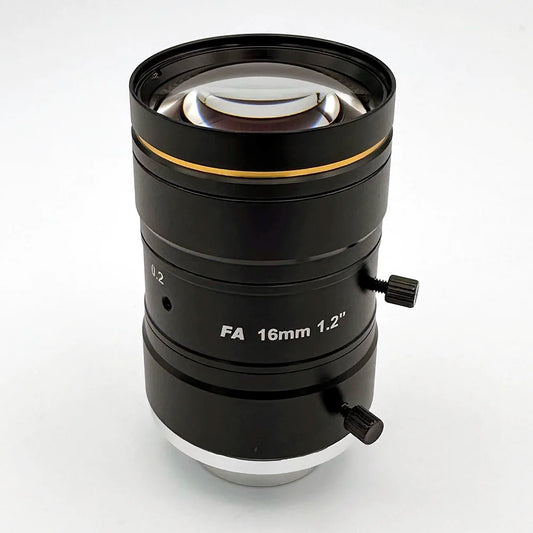
The lens image circle must fully cover your sensor diagonal. A lens rated for 2/3" has an image circle of roughly 11mm; a 1.1" sensor has a diagonal of roughly 17.6mm. Put a 2/3" lens on a 1.1" sensor and you get severe vignetting. Oversizing the lens is the safer direction; undersizing produces vignetting that no amount of software correction recovers. A compact M12 lens is often a fraction of the cost of a comparable C-mount lens: on an eight-lane fill system, the difference between a $19 M12 lens and a $119 C-mount lens is roughly $800 across the station. That advantage only holds if the M12 image circle actually covers the sensor with margin. Full rules are in the sensor size and lens compatibility guide.